The other day I saw an awesome tutorial on Paper Heart Camera for photo blending. I thought it was super awesome because I have always wondered how it was done. Turns out it is fairly simple, but a bit complex at the same time.
My first attempt was OK, there were many mistakes, including the fact that my camera shifted at some point. Probably during the time Afton wiped out into the cupboard and started choking on a peanut. That kid sometimes! For this photo I was trying to show my progression into finding a snack, because I am always freaking hungry (in case you couldn’t tell by the fact that I look seven days away from having a baby instead of seven months!). I love sugar.

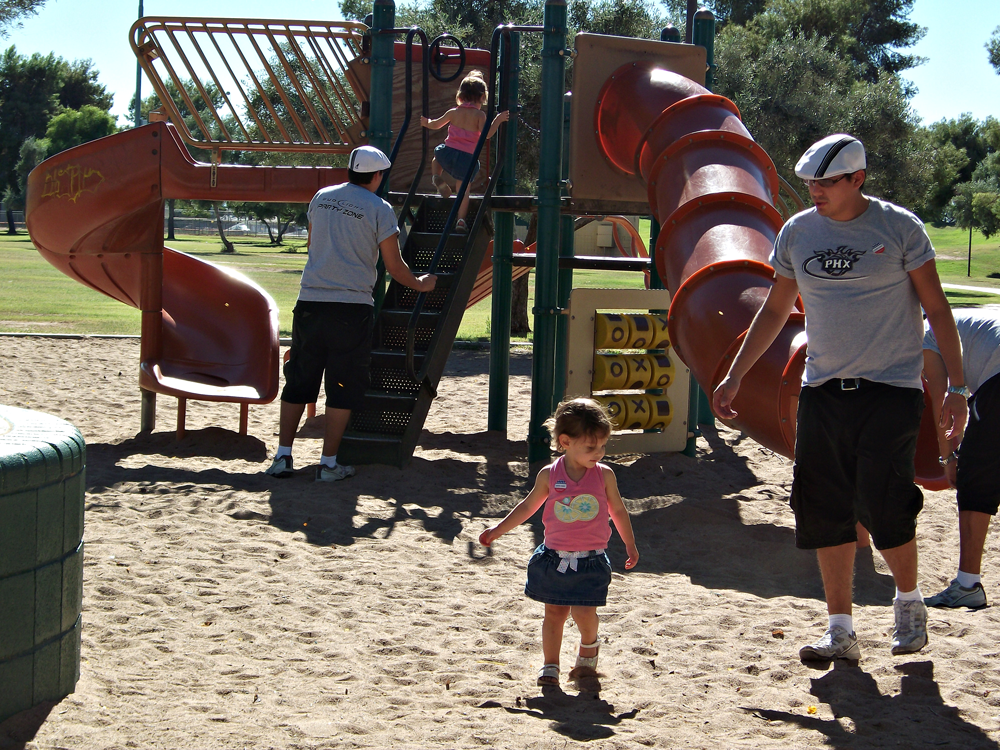
A few days later I tried to get some good shots of Rudy and Afton at the park, but I really only had the two good ones, with the third being blocked. This one melded much better because the camera didn’t shift. I am amused by Rudy and Afton’s stride, they are exactly the same.
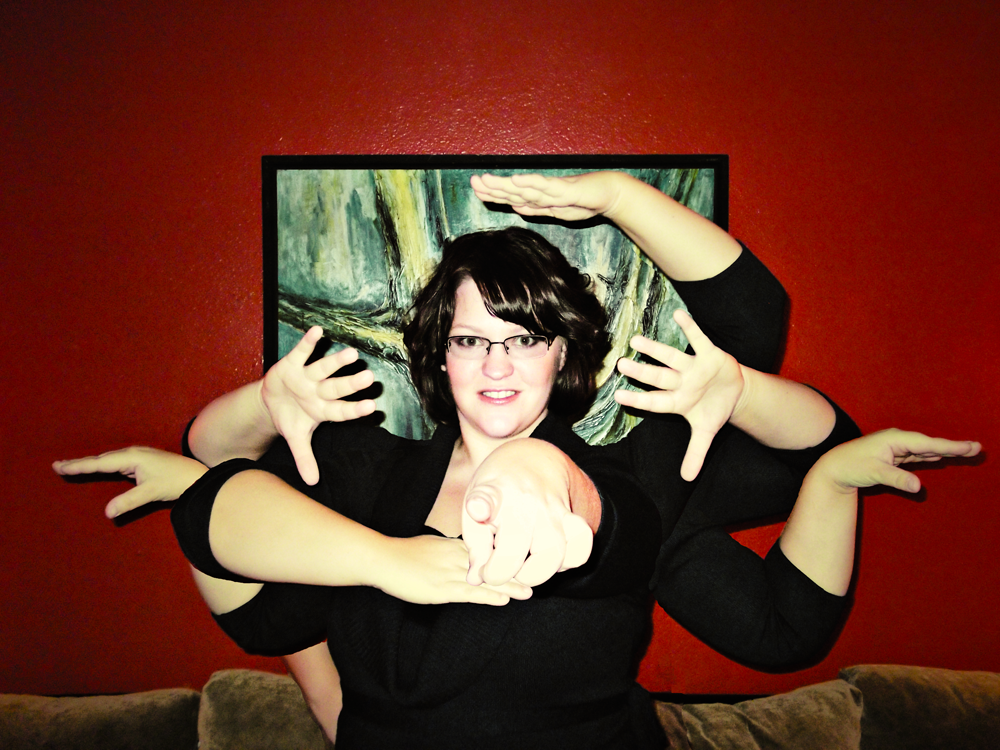
This last one was a lot harder, but a helluva lot of fun to do. It’s obviously harder because I have so many pieces interconnected. It was very easy to mess up, so I took my time and I’m really happy with my results. Now if only I truly had that many arms. Life would be soooooo much easier.
I thought for awhile and realized I had done something similar many many years ago. So I searched around my sites and my external drive and found these following two photos. For the life of me, before this tutorial, I would not have been able to even remotely explain how I did what I did with the two photos, because all I would do is just mess around and see what would happen, without really paying attention.


Lookit how small I was back then! How annoying! Stupid booze, drugs and babies ruining my body.
Anyway, I hope you enjoyed my fun little project. Peace out.

Ashley Sisk says
Those look so cool. I love what you’ve done! I haven’t gotten brave enough to try that technique yet, but I can’t wait to try it.