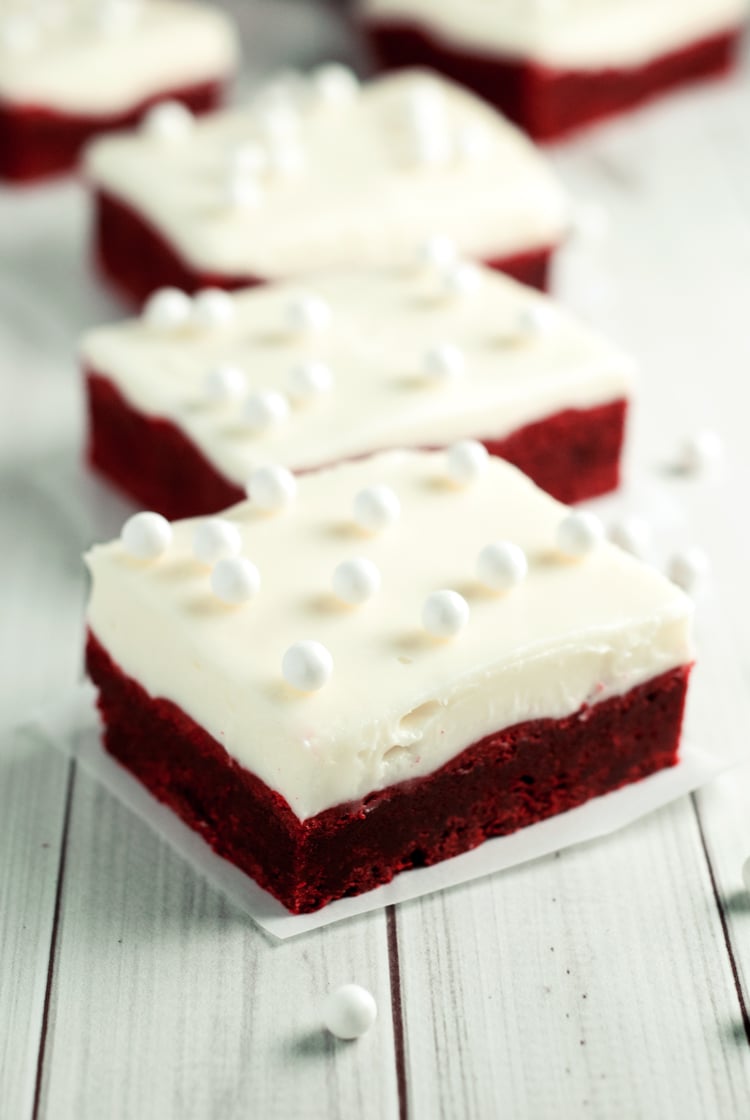
 I think it’s safe to say that I love red velvet. Maybe it was the red velvet bundt cakes, or my Dia De Los Muertos cake, but if it’s red, and velvet, then it’s in my sphere of need to eat right meow. So these red velvet cookie bars? They’re kind of awesome. They’re dense and chewy, which is so unlike a typical red velvet cake. Your mind is tricked! But the flavor is exactly what it should be for something so decadently delicious you can’t just eat one bar omg I need another right now please don’t stop me yum yum yum.
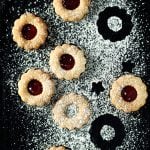
Kind of like that.
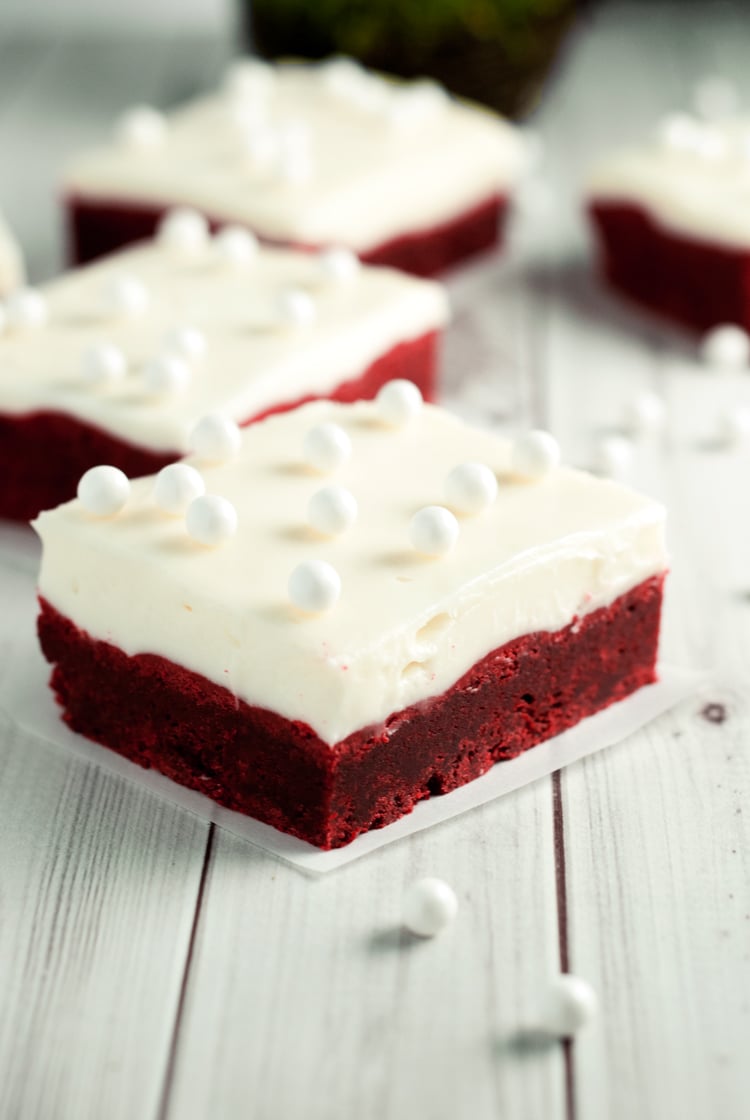
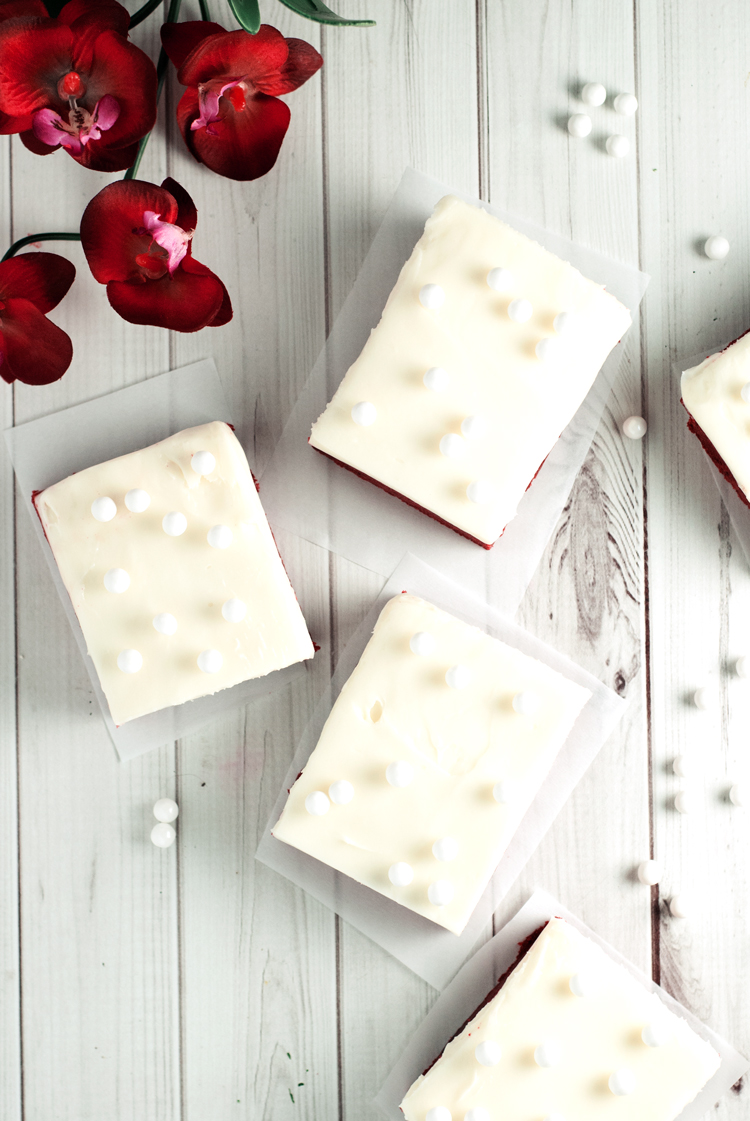
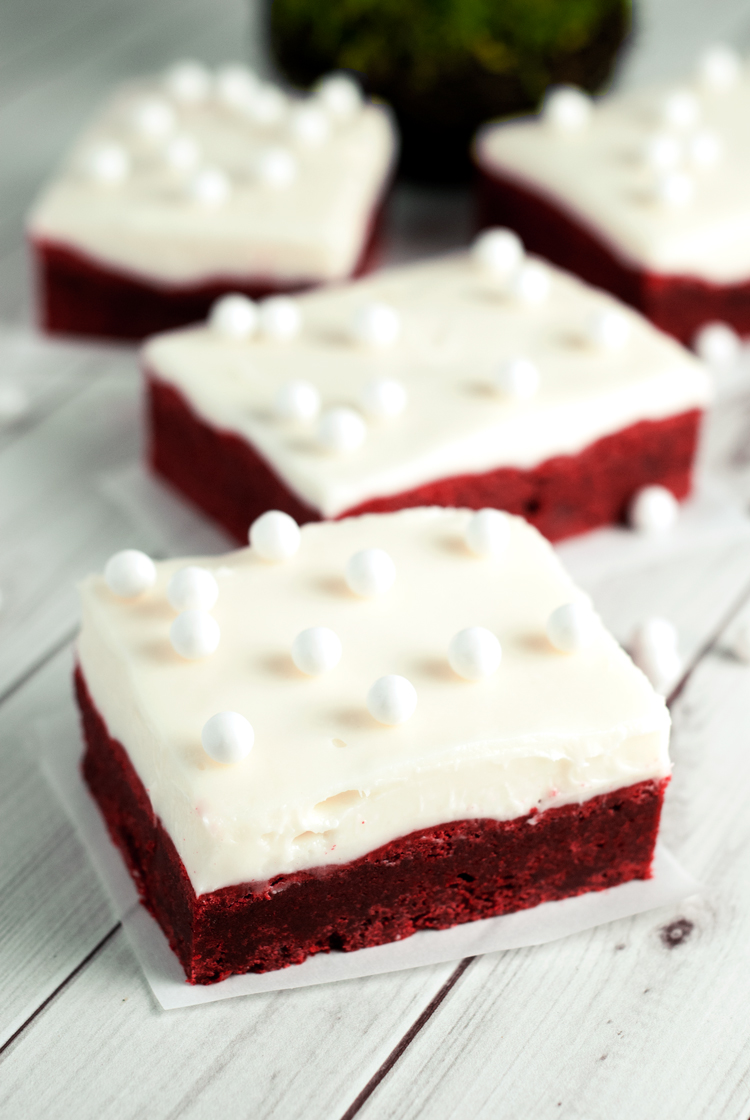 These red velvet cookie bars are so easy to make as well, it probably should be illegal. But when you cut them up and plate them, they look so pretty and perfect and divine, people will swear you had to have spent hours making them. If only they knew! But we know. Cause we’re awesome.
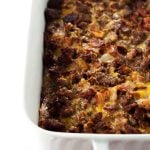
Related Posts


This recipe starts like most, beating the butter and sugar until they’re nice and fluffy, then adding the eggs, followed by the vanilla and food coloring, and finally the dry ingredients. If you’re as used to red velvet cake as I am, it can seem almost alarming when making the batter for these bars because of how thick and dense the batter is. But since it’s a cookie bar, it’s gotta be more like a cookie.
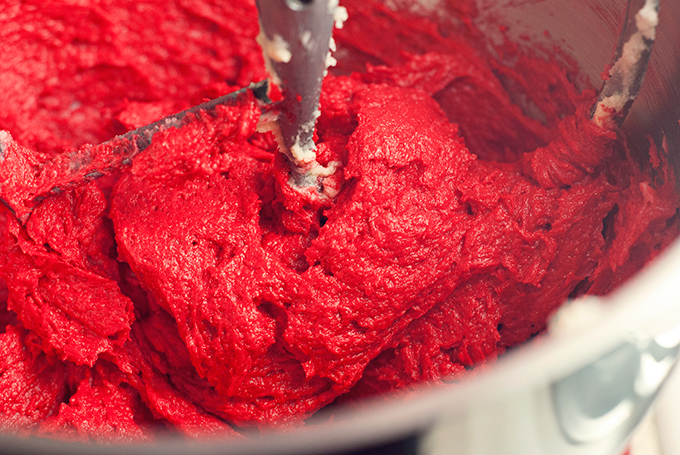
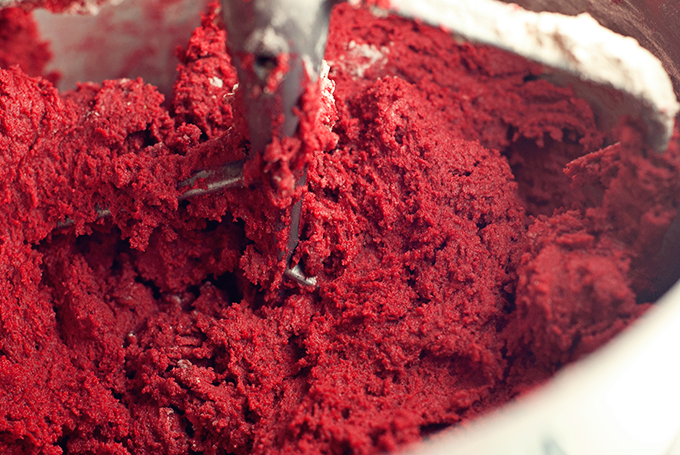
I may have had a bite or seven of the batter. I fear no raw egg.
Pat it down in a baking dish lined with greased parchment paper or tin foil so it’s easy to lift out of the pan when it’s done and bake until awesome! Once it’s cool you can add a thick layer of delicious cream cheese frosting, because what red velvet anything is complete without cream cheese frosting, am I right? Then devour. Or share. Or devour, and make a second batch before anyone notices.
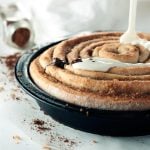
 Ready to make some nom noms? I know I am, cause my pan is already empty! Make some No Bake Chocolate Cookie Butter Bars when you’re done!
Ingredients
For the Bars
- 3 cups flour
- ⅓ cups unsweetened cocoa powder
- ½ tsp salt
- 1 tsp baking powder
- ½ tsp baking soda
- 1 cup butter softened
- 1 ½ cups sugar
- 2 eggs
- 2 tsp vanilla
- 1 oz bottle red food coloring
For the Cream Cheese Frosting
- 16 oz cream cheese softened
- ½ cup butter softened
- 3 ½ cups powdered sugar
- 2 tsp vanilla
Instructions
- Preheat oven to 350 degrees. Line a 13x9 inch pan with parchment paper or aluminum foil and grease. Set aside.
- In a medium bowl, add the flour, cocoa powder, salt, baking power, and baking soda, and stir to combine.
- In a large mixing bowl, beat together the butter and sugar until soft and fluffy, around 5 minutes. Add the eggs, one at time, mixing until fully incorporated. Slowly stir in the vanilla and food coloring. Add the dry ingredients in batches, mixing until just combined.
- Scoop the batter into the 13x9 inch pan and press down with a spatula to spread evenly into the pan. Bake for 15-20 minutes, or until a toothpick inserted into the center comes out clean. Cool completely.
- While the cookie bars cool, add the butter and cream cheese to a large mixing bowl and beat until combined and fluffy, around 5 minutes. Add the powdered sugar in batches and beat gently until combined. Add the vanilla, then beat for an additional 3 minutes. Frost the cookie bars, cut, and enjoy.
Share your photo and tag @asimplepantry or #asimplepantry!
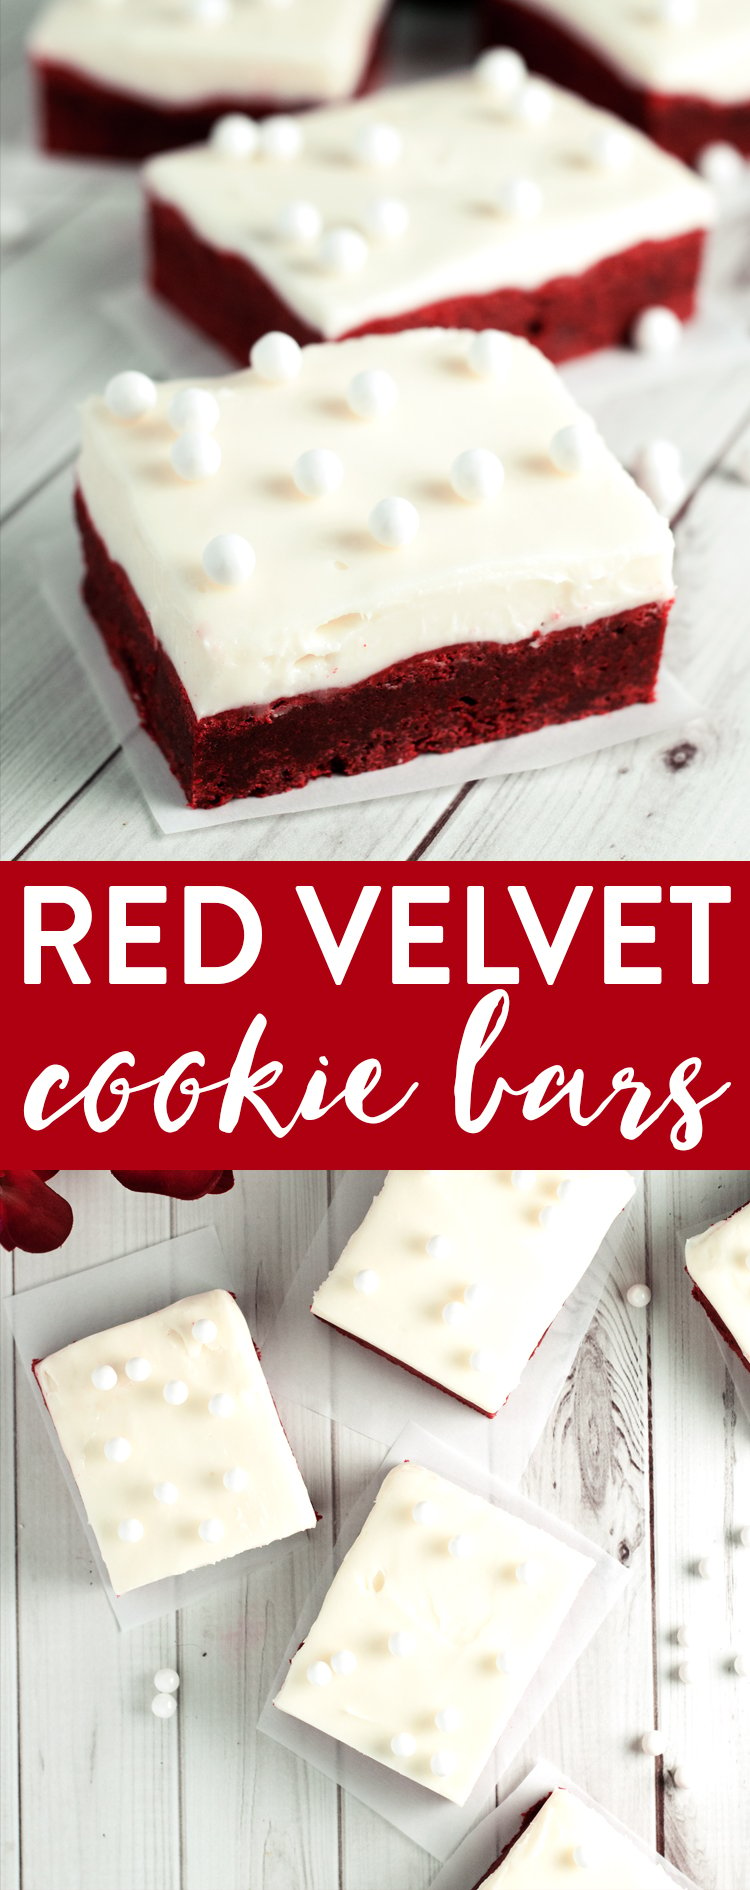
Make these red velvet cookie bars for your special Valentine, or just because you feel like it!
Rachelle Zufelt says
I let these cool overnight in the fridge with the frosting before eating and they were phenomenal. I’m thinking of making some tonight with a different color (blue velvet, anyone) since I used all my red last time. They’re addicting! Thank you for this great recipe!!!
Leah says
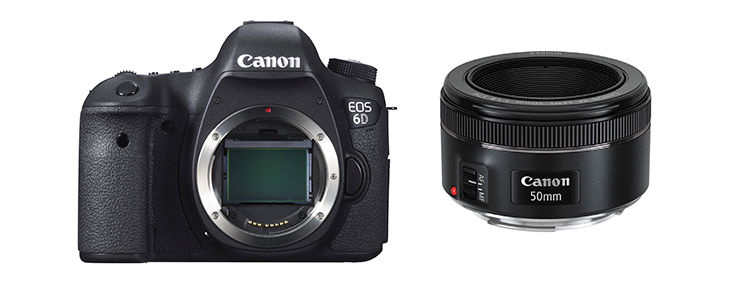
These look absolutely stunning (and delicious)! Can I ask what camera and lens you use? Your photos are all beautiful!
Karly says
Thank you, Leah, you’re so sweet! I use a Nikon D3000 with a 50mm lens!
Tammie says
I needed something red to take to a blood moon solar eclipse theme party. I made this yummy recipe and created red moons by cutting the bars with a round cookie cutter instead of cutting them into squares and then iced them with the cream cheese frosting but didn’t go all the way to the edge so that the “blood moon” showed under it. They looked awesome and tasted even better.
Karly says
That SOUNDS absolutely amazing! Did you take an pictures?!? I would love to see the end result! Love the creativity!
Shanda says
Will this ship well? How would you suggest shipping it?
Anne says
Hi these look lovely. Can I just check in the measurements does the C mean cup? I’m from England – I have a conversion but just checking. Many thanks.
Karly says
Hi Anne!
Yes, the C stands for cup! Thanks for asking!
Jess says
These look great, how far ahead do you think I can make them?
Ahmed shaban says
@Karly: Thanks for quickly replying and I look forward to trying the recipe.
Ahmed shaban says
I was wondering what type of flour was used for the recipe. Did you use all purpose flour or cake flour?
Karly says
Hi Ahmed!
I used all purpose flour!
Cynthia L says
First off, I love your profile photo! Second off, I love this recipe! Thanks for linking to the This is How We Roll Link Party. See you on Thursday!
Joy | The Joyful Foodie says
Oh heck yum! These look ridiculously amazing. I think these need to happen today. Pinned!
Creatively Homespun says
Oh MY! There are no words!!! These look amazing! I can’t wait to try them! Thanks for sharing at the Just Us Four Link party!!! Delicious!!
Thaleia from Something2Offer says
Very interesting., but I try to stay away from lots of food dyes. Now that I have a Type 1 Diabetic child super sugary desserts are cut to a minimum, For all those Red Velvet Cake lovers out their they would love to get their hands on this recipe! Thanks for stopping by Oh My Heartsie Girls.
Lorelai @ Life With Lorelai says
These red velvet bars make a gorgeous presentation! Please come share your blog posts over at the Home Matters Linky Party! We’d love to have you for a visit. The Door is OPEN. http://lifewithlorelai.com/2015/02/12/home-matters-linky-party-24/ 🙂
~Lorelai
Life With Lorelai
Susan White says
I made these today, but used another recipe that had more flour and no baking soda. I am going to try this recipe next to e. Mine were a little dry. The recipe I used said to bake 20 minutes and I wish I took them out sooner as this recipe indicates 15–20 minutes. I will also cut the frosting in half. It is delicious but way too much and too thick if using it all. Maybe even reduce it by a 1/4.
Rach D says
Okay, these just look amazing! Can you come over & bring some please?! 🙂
Thanks for sharing your post on this week’s Mom 2 Mom Link Up Party. Hope you come join us again soon 🙂
Rachael @ Diamonds in the Rough
Nicole Neverman says
These cookie bars look delicious! Love that frosting 🙂 If you had a spare moment, I would be delighted if you’d drop this (and anything else you’d like to share) by at the #PureBlogLove anything goes link party! You can find me here: http://picnicnz.blogspot.co.nz/
Emily @ Love, Pasta and a Tool Belt says
These look seriously so delicious! Thank you for linking up at The Wednesday Round Up and we hope to see you back next week 🙂
Dee @CupcakesandCrowbars says
Next could you post a tutorial for getting the drool off my monitor? Because I may or may not have licked the photos. Maybe. These look amazing! Pinned, and thank you for the recipe!
Mary says
YUM! These look fantastic. I think these cookie bars would have such a great texture, and you can never go wrong with cream cheese frosting!
brenley davis says
These look SO good. Pinning for sure!! Thanks for sharing at a Pinch of Joy!!
Nicole says
These look so delicious – thanks for the recipe!
Jess Scull says
I am literally salivating in bed as I read this. LOL. WOW!
Chelsea says
I can only imagine how amazing these would taste!! Also, they look super pretty, so there’s that too!
Annie @ Annie's Noms says
These are stunning!! 🙂
Laura MyNewestAddiction says
I need those bars in my life right now. The mix looks BLOOD RED! Like the armadillo cake on Steel Magnolias
Karly says
Oh man, I completely forgot about the armadillo cake! One of my fave movies ever!